So I had to take a break from blogworld for a few days. See, I looove to follow organizing and decorating blogs, looking at their beautiful homes and DIY projects. Problem is, I start obsessing over making my home perfect, like theirs is depicted in their photos. I have to remind myself that no one with kids has a house that looks that good all the time. If they do they have no life. Their life would consist of following little people around wiping everything they touch. Not to mention children that would be afraid to have any kind of fun for fear of making a mess! I have to tell myself that they probably spend 20 minutes dusting, wiping, arranging and banning children from that spot before they even try to take those pictures.
This is what I tell myself, anyway...
My home is small. Very, very small. Less than 1000 square feet kinda small. I have two boys, a newborn nephew most days, a husband that digs in dirt all day at work, and a tiny dog with a tiny bladder. Cramming all of that into such a small area is bound to be a disaster. Granted, we are in the process of a major redo of our home that will make our home more like 1500 square feet, for now we have to make do with 1000.
I've gotten a system down that keeps my home sanitary and half way presentable, but some days I just don't feel like it. Then there are days when I keep up with my system, but my kids are just in mess making mode! Those days I spend scrambling, and yelling, and sometimes almost crying! Such is life with kids, I guess. I adapted the flylady system to fit my needs. I'll post about it later and let ya know. I really like it. It leaves me plenty of down time to spend doing important things, like spending time with my family!
When I started this blog I wanted to share REAL life. Not the edited version, the REAL thing. So I am going to show you what my house looks like at any given moment. It's nothing glamorous, but I hope it makes someone feel better knowing that they're not alone ;0)
This is my humble kitchen. Holy checkered floor! haha. My husband lived here before we met, and this was to be his "bachelor pad." He thought checkered flooring with all of the wood would be cool. NOT! We've never changed it because we were always about to buy a new place, or about to start the renovation. Seven years later and we're still dealing with the awful checkered floors...
Here is our dining area...
A little jumbled, eh? Yes, that is a laundry basket full of cardboard boxes. We like to burn them so they don't take up so much garbage bag space. If you head down that little hallway, you come to our little bitty laundry cubby...
Sorry, it was laundry day, my little monster spilled his milk all over his pillow so it's in line for the washer. A whole set of encyclopedias to be taken to goodwill piled up and in the way.
Then you get to the master bedroom. It's pretty plain.
Our closet is in need of some serious organization!
Then there is our bathroom, it's sort of a weird layout...
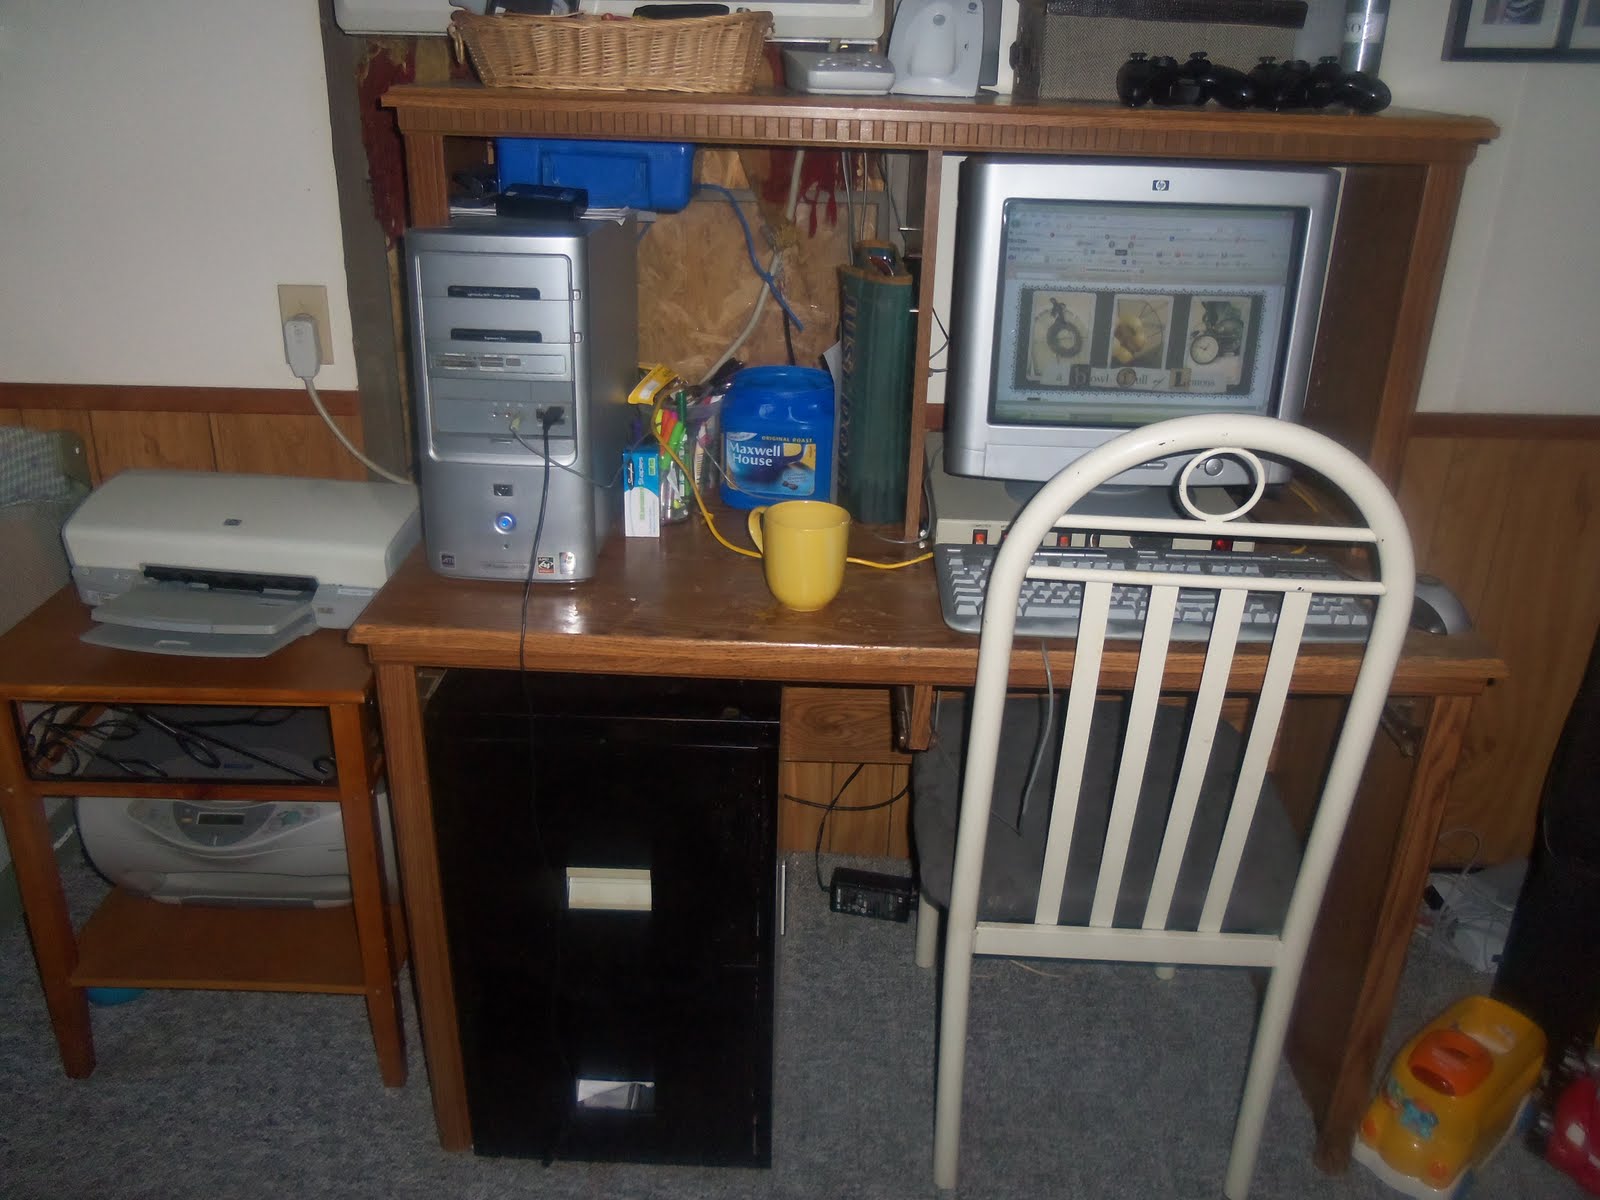
Ok, back down the hall and through the kitchen to our living room. This is where all the action happens! Kids, dogs, jumping, dancing...
I watch my 3 month old nephew most days, so here is his corner of paradise. You can also see our office area and the back of our beat up couch.
My oldest son watching some 'tunes. Not sure where my two year old is in this picture. I'm sure he's in his room looking for another toy to bring out. If you head down the little hallway area, there's our second bathroom...
Then the boys' room... By the way, this is a very good day. Usually you cannot see the floor! I meant to close the curtains so you didn't have to see the blue tarp hanging lol. Ah, life in a home under construction...
My husband made the loft bed so they would have more play area. Eventually, when my two year old gets out of the crib, it will be a bunk bed. For now, His crib is....
That's the end of my REAL home tour. Nothing fancy. Just a whole lotta realness. If you look at the Trashy To Classy page on the right hand side you can see our progress on the outside of the house. Just beware, the before pictures are pretty scary haha. We haven't done anything in a while, I think the hubster is a little burnt out.
Sunday, July 24, 2011
Friday, July 15, 2011
21 Day Challenge Day 3... Tupperware
Eeeek, this is the challenge I've been dreading! I don't have a whole lot of Tupperware or anything, I just don't have a good place for what I do have! We don't have a lot of cabinet space. It doesn't help that we don't have a pantry either, so precious cabinet space had to be designated to food.
I tried my best, here we go...
BEFORE
I took everything out, and wiped out the cabinet. I HATE the old peeling 70's wallpaper on the back so I looked for some scrapbook paper to cover it. I didn't see anything I liked in my books :0( Then I saw my extra file folders from Yesterday's Project and I got an idea. I modge podged them on and they look great! I then moved the little wire shelf to the top since it wasn't helping much with the cups. Put everything back and I was done!TOP SHELF AFTER
BOTTOM SHELF AFTER
I am still so tired of all the wood in our house (wood ceiling in the living room, wood cabinets, wood panelled bottom half of walls, wood wood wood!) but I just keep reminding myself everything will be pretty after we're done with the remodel. One day... One day... ;0)

Thursday, July 14, 2011
21 Day Challenge Day 2... The Computer Desk
I decided to move on to day 2 since the junk drawer wasn't done today. I recently cleared and sort of organized my desk, so it didn't take very long to clear the clutter that had slowly made it's way there.
Here is the before and after of the desk....
But what I'm actually excited about is the file cabinet underneath! Since it only took a couple of minutes to do the desk, and I was in the organizing mood, I dove in! Whew it was a MESS!
So I went to my favorite blog and looked up her paper pile challenge... Paper Challenge I read and got my inspiration... I pulled everything out of the top drawer and took it to my kitchen table out of reach for little hands ;0) I sorted and sorted and sorted! My goodness there was a lot of stuff in there!
Look at this pile of stuff I have to shred! It's all things that are completely outdated!
When I finally finished sorting, I put them into pretty file folders I already had, and then into hanging files. I couldn't believe how much I pulled out and how little was going back in!
WOW! Then I put the little tiny bit I had left into that HUGE file cabinet drawer....
Haha, even all spread out it's not even close to as full as it was.
Then it was on to the bottom drawer. I used it to hold my office supplies. Extra paper, binder supplies, hole punches, envelopes, etc.
Another disaster. I took everything out, purged and put it back as neatly as possible...
But with such little going in the actual file cabinet I'm thinking of changing things up. I think I may go with a file box like this for the files and adding some shelving or something for my supplies.
For my tax returns I'm just going to use a file box, but for the kid's school papers I'm going with Iheartorganizing's genius and beautiful creation.I have to get more files and ink before I can do this. So for now I'm stuck trying to find somewhere to stash this pile of school and tax papers on my table until I do! hehe
Loving the results and can't wait to finish!

Here is the before and after of the desk....
BEFORE
AFTER
But what I'm actually excited about is the file cabinet underneath! Since it only took a couple of minutes to do the desk, and I was in the organizing mood, I dove in! Whew it was a MESS!
So I went to my favorite blog and looked up her paper pile challenge... Paper Challenge I read and got my inspiration... I pulled everything out of the top drawer and took it to my kitchen table out of reach for little hands ;0) I sorted and sorted and sorted! My goodness there was a lot of stuff in there!
Look at this pile of stuff I have to shred! It's all things that are completely outdated!
When I finally finished sorting, I put them into pretty file folders I already had, and then into hanging files. I couldn't believe how much I pulled out and how little was going back in!
WOW! Then I put the little tiny bit I had left into that HUGE file cabinet drawer....
Haha, even all spread out it's not even close to as full as it was.
Then it was on to the bottom drawer. I used it to hold my office supplies. Extra paper, binder supplies, hole punches, envelopes, etc.
Another disaster. I took everything out, purged and put it back as neatly as possible...
But with such little going in the actual file cabinet I'm thinking of changing things up. I think I may go with a file box like this for the files and adding some shelving or something for my supplies.
For my tax returns I'm just going to use a file box, but for the kid's school papers I'm going with Iheartorganizing's genius and beautiful creation.I have to get more files and ink before I can do this. So for now I'm stuck trying to find somewhere to stash this pile of school and tax papers on my table until I do! hehe
Loving the results and can't wait to finish!


21 Day Challenge Day 1... The Junk Drawer
So I did this project a while ago, but never posted because the challenge was over (sniff, sniff) But Christina over at Busy Little Ladybugs Started the challenge anyway, and I think I'll join her! You can see all 21 days of challenges here... 21 Day Challenge So if you want to join in too, come on!
Sooooo, her is my junk drawer BEFORE....
Wowie.... I went through, put away things that didn't belong in here, threw away the trash, took out the divider that wasn't serving it's purpose and clean everything! I put down some pretty scrapbook paper and some baskets I got for a steal at Goodwill, placed everything in nice and pretty and tada!
On to the silverware drawer... BEFORE....
Again, I took everything out, got rid of things that didn't work or I didn't use, cleaned, put down some pretty paper and ....
I really like the paper, it just makes it pop! Every time I open the drawer it makes me smile!

Wednesday, July 13, 2011
My Pitiful Laundry "Cubby"
So, I'm reaching out for some help here... I know I don't have too many followers to read this and put in their input, but I'm hoping to get some anyway! hehe. My laundry room is not working for me. I think an area that I spend so much time in, should be more organized and beautiful so it's not such a drag to be there. I need help!
I've thought about painting... but I just feel that it would be a waste of time since in about a year rooms are going to be moved around and I will have to repaint everything... What do you think? Would I be wasting my time and money, or is what's wasted worth a year of loving my space?
Well, here goes... My VERY humble laundry area....
Yes, that is baskets of produce in my laundry room haha. I had nowhere else to put them in my kitchen and my laundry area is right beside it.
So it's kinda boring, but not too bad, right? Wrong, you haven't seen the chaos behind those cabinet doors!
Ahhhh! Scary, hugh?! This is our "Utility Cabinet" It holds all of our screw drivers, hammers, the hubby's fishing stuff, misc construction things that can't go outside, the drimmel, and even some grilling stuff. I've tried to organize this space many, many times. I used plastic containers that I put labels. It never fails, though, within a couple of weeks it's back to this. The dangerous part is trying to find something. It's like playing Jenga! If you move the wrong thing it all comes tumbling down! I'm thinking of finding a way to hang what can be hung, like hammers and screwdrivers and such. I just can't figure out a way to do it!
Now for the other cabinets....
This side holds my gardening things, batteries, extra remotes and all of my laundry supplies. This side isn't too bad, I guess. Still kind of an eye sore though.
On the door I have baskets that keep frequently used laundry things off the top of the dryer.
I keep a cheap duster within easy reach to dust off the tops after cleaning the lint trap....
The Hubster made this for me to hang up my delicates, and I put a funny pic i found in Real Simple magazine. It's a woman surrounded by laundry hold her arms out to her little boy who is running towards her. I guess I should pick happy art instead of art that reminds me of how much I hate laundry lol.
On the shelf above the dryer I have a small trash can, and a basket that hold misc. laundry supplies...
And above the washer I have.... produce? Wait that doesn't belong there! haha
So you've toured my laundry area and listened to me whine... Any recommendations?!
Monday, July 11, 2011
$11.00 Boy's Closet Redo!
Ok, so I am so excited to share this! My two boys, age 5 and 2, share a small bedroom while we slllllllooooowly add on to our home. Clothing storage has always been an issue! They have a small closet in their small room which I used to home my 5 year olds clothes, the laundry hamper and extra sheets and blankets. It was always stuffed to the brim. Not to mention the out of season clothes, and the clothes my 5 year old has outgrown that I'm saving for my 2 year old wouldn't fit inside the closet, so they were stored under the crib. My 2 year old's clothes and both of their PJ's, socks and underwear were stored in a big, bulky dresser.
Then one day I was looking around on Blogger checking out the new posts everyone was posting and BOOM! I saw the most amazing use of space ever over at Iheartorganizing 2 of her kids also share a room... and a closet! The whole room looks amazing but I literally drooled over the closet!
So I spent the next few days begging my husband to help me pull something like this off in our boys' closet, and he finally caved! So here we go...
We started off with this...
Awful, right? Then my husband raised the top shelf and rod a few inches, added a second shelf and hanger, and then I went to town trying to make it "drool worthy" with what I already had...
Eh... Still not drool worthy. So I headed to my favorite place in the whole world! The Dollar Tree! I found Exactly what I needed!
These lil babies were, you guessed it, $1 each! They work perfectly for their socks and undies. I got 2 for each child, and they were even the colors I wanted! Then I got these....
Not the colors I was looking for but dang, you can't beat $1 for these big ole things! They are sooo much bigger than they look in the picture. I got 7 of them at $1 each, whoohoo!
So now for the happy after! I'm still not done, it's still not all the way drool worthy. I can tell you one thing though, it looks and functions soooo much better than before! Even better, I can get rid of the bulky dresser so they can have so much more room for activities! lol.
I would still love to paint, but again, everything is going to be moved around as we finish our remodel. So there's not really much point to doing permanent things like paint. I have since taken out the yellow basket, they are now using just the basket on the floor that you can barely see in the picture hehe.
I was able to use the cloth bins on the top shelf for winter gear and clothes and extra sheets and blankets. My 5 year old's clothes are hanging on the top rod. On the lower shelf we have a cloth bin for each of them holding their PJ's. I'm working on a cute label for them. There is also the stackable bins for their socks and undies. My 2 year old's clothes are hanging on the 2nd rod. The gray container on the floor holds all of the clothes I'm saving for my youngest, and their laundry basket fits nicely on the floor!
All together this project only cost me $11! The shelf and rod we made from things we already had, so all I paid for were the bins from the Dollar Tree! WONDERFUL!
So what has everyone else been doing? Anyone else have a Dollar Tree makeover project?

Subscribe to:
Posts (Atom)